Avoiding crop damage: The importance of sprayer hygiene

Good sprayer hygiene is essential during busy spray periods to prevent crop injury and subsequent yield loss, Teagasc Crops Specialist, Ciaran Collins tells us more.
Every year agronomists and advisors encounter cases where crop damage occurs because a sprayer was not cleaned out properly between applications.
In many situations, the issue is caused by residues from a previous tank mix remaining in the sprayer and contaminating the next crop sprayed. The consequences can be costly in terms of crop injury, lost yield and farmer frustration.
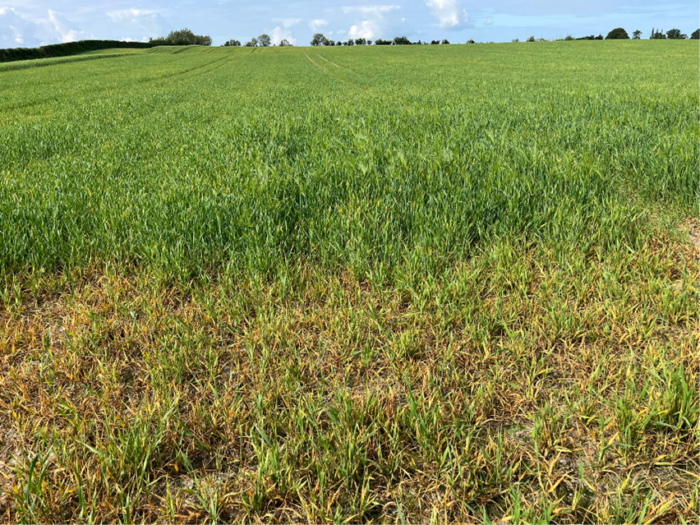
One of the most common examples is sulfonylurea (SU) herbicide damage in broad-leaved crops such as beans, beet or oilseed rape. Even small traces of SU herbicides left in the tank, pipework, filters or boom ends can cause significant crop damage. Another common issue occurs where herbicides designed specifically for winter wheat remain in the sprayer and subsequently damage a barley crop. However, perhaps the most common issue encountered on farms is glyphosate residue remaining in the sprayer, particularly where poor clean out occurs before moving into other crops. Even low levels of glyphosate contamination can result in significant crop damage.
Good sprayer hygiene is therefore essential during busy spray periods to prevent crop injury and subsequent yield loss.
Sprayer calibration
Accurate sprayer calibration is one of the first steps in avoiding problems. A properly calibrated sprayer should finish the field with little or no spray solution remaining in the tank. Any small quantity left over can then be safely applied back onto the target crop at a low rate, provided the maximum approved product rate per hectare is not exceeded.
Once spraying is complete, the tank should be sprayed empty in the field.
Cleaning should begin immediately after spraying while residues are still suspended in water and easier to remove. Leaving spray solution sitting overnight in the tank greatly increases the risk of residues sticking to internal surfaces.
Sprayer clean out procedure
Modern crop protection products are highly active at low dose rates and thorough cleaning is essential.
Key steps in a proper clean out procedure include:
- Spray the tank empty in the field after finishing the job
- Begin cleaning immediately after spraying
- Never leave spray liquid standing overnight in the sprayer
- Triple rinse the sprayer using clean water, with approximately one-third of the total rinse volume used in each rinse
- Each rinse should include circulated rinse water through the tank agitation system to remove any trapped spray mix and flushing rinse water through the induction hopper and associated pipework, where residues can often remain trapped
- Use the sprayer’s internal washing system during each rinse cycle
- Spray rinse washings out onto the treated field in accordance with product label requirements
- Remove and clean filters, nozzle screens and filter housings
- Rotate nozzle bodies during washing to ensure all internal surfaces are cleaned
- Pay particular attention to boom ends, dead ends in pipework and other areas where residues can accumulate
Pay particular attention to SU herbicides
Sulfonylurea herbicides are very important in cereal crops but require careful management from a sprayer hygiene perspective. Active ingredients such as metsulfuron, tribenuron, florasulam and mesosulfuron (Ally Max, Cameo Max, Harmony Max etc.) can cause severe crop damage at very low residue levels.
Beans and beet are especially sensitive to SU contamination. Where a sprayer has previously been used to apply cereal herbicides, growers should ensure a complete washout procedure is carried out before entering broad-leaved crops.
Use a dedicated tank cleaner
Water alone is often not enough to remove SU herbicides. A dedicated cleaning product such as All Clear Extra can significantly improve the removal of residues from tanks, pipework and booms. All Clear Extra is specifically formulated as a liquid sprayer cleaner for use following SU herbicides and can help remove difficult residues from the sprayer. Follow manufacturer guidelines when carrying out the cleaning procedure to ensure adequate contact time, dilution and rinsing of the entire sprayer.
For key management tips, read the Teagasc Advisory Crops Newsletter for May here.